How I Grow Cucumbers: Starting Cucumber Seeds Indoors
Have you ever wondered how to get a head start on your garden and enjoy fresh, homegrown cucumbers weeks earlier than usual? I discovered the secret to extending the growing season and see cucumber seeds germinate—and it’s simpler than you might think. By starting cucumber seeds indoors, I’ve been able to give my plants a 4-6 week jumpstart, ensuring a bountiful harvest even before summer hits.
This method of isn’t just about timing—it’s about control. By managing the germination conditions, I’ve grown stronger seedlings that thrive when transplanted outdoors. Plus, the taste of homegrown cucumbers is unmatched. They’re crisp, flavorful, and packed with nutrients. Did you know they can even help regulate blood pressure?
Whether you’re a seasoned gardener or just starting your green journey, this approach is a game-changer. Let me walk you through my process and share why May 7 is the perfect transplant date f’or many regions. Trust me, your garden—and your taste buds—will thank you!
Key Takeaways: Start Cucumbers
- Extend your growing season by 4-6 weeks with indoor planting.
- Control germination conditions for stronger, healthier seedlings.
- Enjoy an earlier harvest of fresh, homegrown cucumbers.
- May 7 is an ideal transplant date for many regions.
- Each plant can yield over 20 cucumbers per vine.
- Homegrown cucumbers offer superior taste and health benefits.
- Vertical gardening maximizes space and increases yield.
Why Starting Cucumber Seeds Indoors?
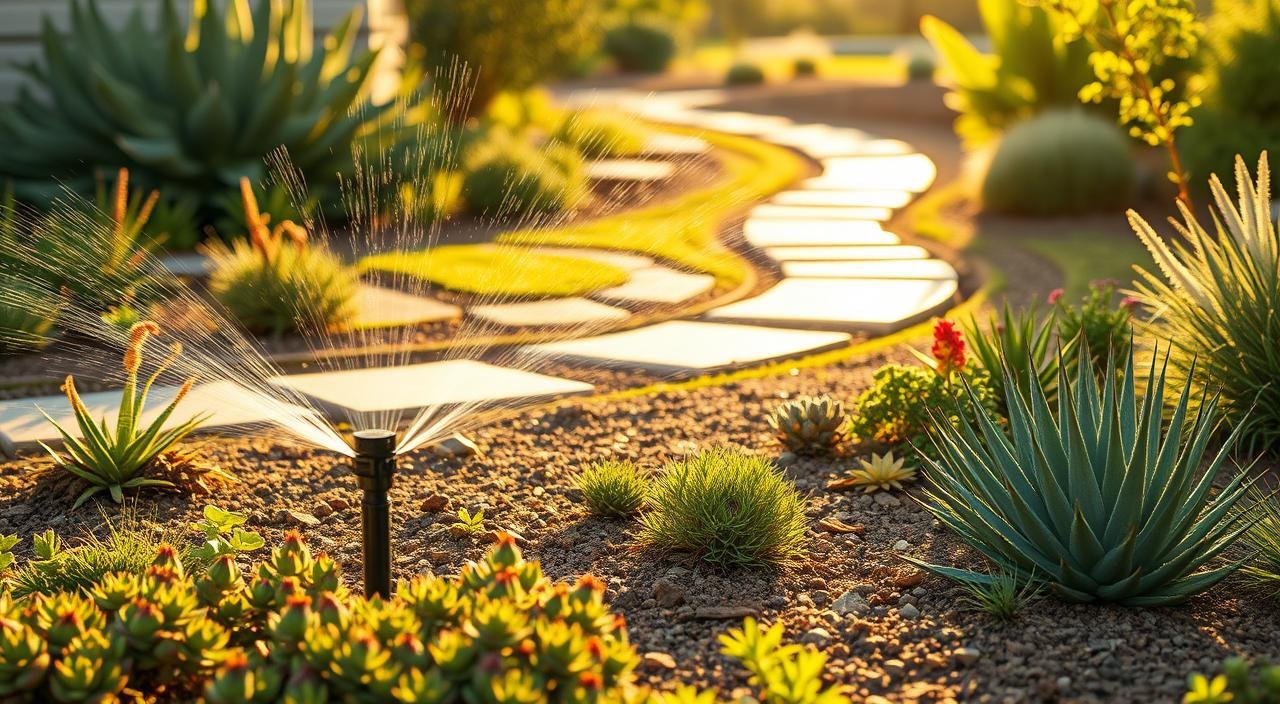
Ever thought about how to give your garden a boost and enjoy fresh cucumbers earlier in the season? Starting seeds indoors isn’t just a trick—it’s a game-changer. By giving your plants a head start, you can extend the growing season by 4-6 weeks. This means you’ll be harvesting crisp, flavorful cucumbers long before your neighbors.
One of the biggest advantages is temperature control. Cool spring soil can stunt growth, but indoors, roots stay warm and thrive. I’ve found that maintaining a steady 85°F during germination leads to healthier seedlings. Plus, indoor starts have a 90% success rate, compared to just 70% for direct-sown seeds.
Another benefit? Protection against late frosts. I learned this the hard way when an unexpected May frost wiped out my outdoor plants. Now, I always start indoors to avoid that heartbreak. By beginning around April 1, you can transplant by May 7—giving your plants a solid 5-week advantage.
Finally, this method extends your harvest window by 3-4 weeks. Imagine enjoying fresh cucumbers from your garden weeks earlier than usual. It’s a small effort with a big payoff. And if you’re planning to use a trellis system, this head start ensures your plants are strong enough to climb and produce abundantly.
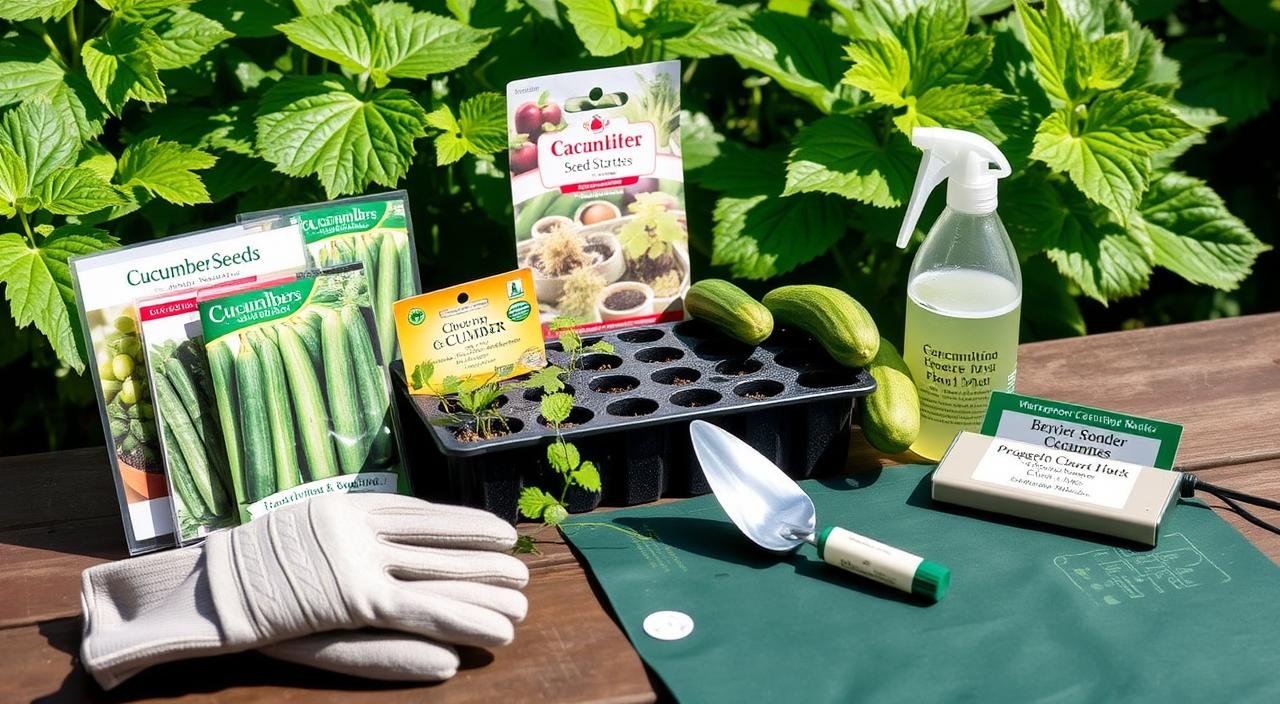
Preparing for Success: What You’ll Need
The foundation of a thriving garden lies in careful preparation and quality materials. To grow healthy plants, you’ll need the right tools, supplies, and a bit of know-how. Let’s break it down step by step so you’re fully equipped for success.
Choosing the Right Seeds
Not all seeds are created equal. For container gardening, bush varieties are compact and ideal for small spaces, while vining types require trellises but yield more produce. I recommend organic brands like Burpee, Baker Creek, and Seed Savers Exchange—they’ve consistently delivered great results for me.
Essential Supplies: Pots, Soil, and More
Start with 3-inch pots for initial planting, then move to 6-inch pots as your plants grow. For the final container, choose one that’s at least 12 inches deep to accommodate root development. Here’s a quick comparison of pot types:
| Type | Pros | Cons |
|---|---|---|
| Plastic Pots | Durable, reusable | Less eco-friendly |
| Peat Pots | Biodegradable, easy transplant | Can dry out quickly |
For soil, I use a mix of 2 parts compost and 1 part vermiculite. This ensures proper drainage and nutrient retention. To test soil moisture, try the “clump test”—if the soil holds together when squeezed but crumbles easily, it’s perfect.

Don’t forget the essentials: a heat mat, spray bottle, and plant labels. If you’re on a budget, fluorescent lights work as a great alternative to commercial grow lights. And remember, overcrowding can stunt growth—stick to a maximum of 2 seeds per pot.
Here’s a quick hack: try the paper towel germination method. Place seeds between damp paper towels, seal them in a plastic bag, and wait for sprouts to appear. It’s a simple way to ensure your seeds are viable before planting.
How to Start Cucumber Seeds Indoors
Want to know the secret to growing robust plants from the very beginning? It all starts with the right approach to planting and creating the perfect environment for your seeds to thrive. Let me walk you through my tried-and-true method for success.
Step-by-Step Planting Guide
First, plant your seeds about ½ inch deep in a high-quality potting mix. This depth ensures they get enough soil coverage to germinate properly. I recommend using a mix of compost and vermiculite for optimal drainage and nutrients.
Next, keep the temperature steady between 20-25°C (68-77°F). This range is ideal for seeds to germinate quickly and healthily. If your home is cooler, a heat mat can work wonders.
For a quick germination check, try the paper towel method. Place seeds between damp paper towels, roll them up, and seal them in a plastic bag. In just a few days, you’ll see sprouts—this is a great way to test seed viability.
Optimal Conditions for Germination
Maintaining the right environment is key. Use a fridge thermometer to monitor the temperature in your seedling station. Consistency is crucial, especially at night.
Watering is another critical factor. I prefer bottom-watering to avoid disturbing the soil. Overwatering can lead to damping off, so keep the soil moist but not soggy.
Once roots are visible through the drainage holes, it’s time to move your plants to 6-inch pots. This transition gives them more space to grow and strengthens their roots for outdoor planting in a few weeks.
With these steps, you’ll set your plants up for success from the very beginning. Happy planting!
Caring for Your Cucumber Seedlings
Taking care of your young plants is just as important as planting them—here’s how to do it right. Proper attention during this stage ensures they grow strong and healthy, ready for the next steps in their journey.
Watering and Light Requirements
Your seedlings need the right balance of water and light to thrive. I use the dry knuckle test to check soil moisture—if the top inch feels dry, it’s time to water. Overwatering can harm the roots, so keep it balanced.
For light, aim for 14-16 hours daily. I’ve found that fluorescent lights work well if natural sunlight isn’t enough. A timer can help maintain consistency, ensuring your plants get the energy they need.

Transplanting Seedlings to Larger Pots
After a few weeks, your seedlings will outgrow their initial pots. Look for roots peeking through the drainage holes—this is a clear sign they need more space. Moving them to 6-inch pots gives their roots room to expand.
Here’s a quick guide to pot sizes and their benefits:
| Pot Size | Pros | Cons |
|---|---|---|
| 3-inch | Compact, great for starters | Limited root space |
| 6-inch | More room for growth | Requires more soil |
| 12-inch | Ideal for mature plants | Bulky, takes up space |
To prevent transplant shock, water the plants thoroughly before moving them. I also use a weak compost tea every two weeks to give them a nutrient boost.
Finally, keep an eye on the leaves. Yellowing or spots can indicate nutrient deficiencies. A simple fix is adjusting the fertilizer or ensuring proper airflow with a small fan to prevent mildew.
Preparing Seedlings for Outdoor Planting
Ready to take your seedlings to the next level? Transitioning them outdoors is a crucial step for a thriving garden. This process ensures they’re strong enough to handle the elements and produce a bountiful harvest. Let’s dive into how to prepare them for success.
Hardening Off Your Seedlings
Before moving your plants outside, they need to acclimate to the new environment. This process, called hardening off, takes about 7 days. Start by placing them in a shaded area for a few hours on the first day. Gradually increase their exposure to sunlight and outdoor conditions each day.
By the end of the week, your seedlings should be ready for full outdoor exposure. This step prevents shock and ensures they adapt smoothly. Remember, sudden changes in temperature or frost can harm young plants, so timing is key.
Choosing the Right Outdoor Location
Selecting the perfect spot in your garden is essential. Look for an area with at least 6-8 hours of direct sunlight daily. South-facing walls or raised beds are ideal, as they retain heat and protect against late frost.
Here’s a quick comparison of location options:
| Location | Pros | Cons |
|---|---|---|
| South-Facing Wall | Warm microclimate, frost protection | Limited space |
| Raised Beds | Improved drainage, easier soil prep | Requires initial setup |
| Open Garden | Plenty of space | Exposed to wind and frost |
Prepare the soil by mixing in a 2-inch layer of compost. This enriches the soil and provides essential nutrients. If you’re using a container, consider a self-watering system to prevent drought stress.
“A well-prepared garden bed is the foundation of a successful harvest. Take the time to get it right.”
Finally, install a trellis at a slight angle to maximize sunlight exposure. Companion planting with nasturtiums can also help deter pests naturally. With these steps, your seedlings will thrive in their new outdoor home!
Tips for a Bountiful Cucumber Harvest
Want to maximize your garden’s potential and enjoy a bumper crop of cucumbers this season? With the right care and attention, your plants can thrive and produce an abundance of crisp, delicious fruit. Here’s how to ensure your garden delivers its best yield yet.

Proper Watering and Feeding Techniques
Watering is crucial for healthy plants. I’ve found that morning watering works best—it allows the soil to absorb moisture before the heat of the day. Evening watering can lead to damp leaves, which increases the risk of mildew.
For feeding, I recommend a weekly application of fish emulsion. This natural fertilizer provides essential nutrients and promotes vigorous growth. Mid-season, top up your containers with a layer of compost to keep the soil rich and fertile.
- Morning watering reduces evaporation and prevents mildew.
- Fish emulsion boosts growth and fruit production.
- Compost top-ups maintain soil health throughout the season.
Managing Pests and Diseases away from cucumber seeds
Keeping pests at bay is key to a successful harvest throughout the year, even when the frost passed. I swear by a simple DIY spray made from garlic and dish soap—it’s effective and eco-friendly. This spray works by masking the scent of your plants, making it harder for pests to locate them. Additionally, the dish soap acts as a surfactant, helping the garlic to adhere to the leaves. For powdery mildew, a baking soda foliar spray works wonders; it alters the pH on the leaf surface, making it less hospitable for the fungus to thrive.
Regularly inspect your plants for signs of trouble. If you spot cucumber beetles, act quickly to save your crop. These pests can cause significant damage in a short time, so consider using row covers to protect young plants until they are established. Consistent care and early intervention can prevent most issues. Additionally, introducing beneficial insects like ladybugs can help control pest populations naturally.
- Garlic and dish soap spray deters common pests by masking plant scents.
- Baking soda spray prevents powdery mildew by altering leaf pH.
- Regular inspections help catch problems early, allowing for timely interventions.
With these tips, you’ll be well on your way to a bountiful harvest. Happy gardening!
Conclusion: starting cucumber seeds
Growing your own fresh produce can be one of the most rewarding experiences, especially when it comes to cucumbers. From planting to harvest, every step brings you closer to enjoying crisp, homegrown fruit that’s unmatched in flavor. If you’re new to gardening, start small with just 2-3 plants—it’s the perfect way to learn without feeling overwhelmed.
Don’t forget to share your journey with others! Gardening communities are a great place to exchange tips and celebrate successes. And if you’re looking for more guidance, join my seed-starting challenge—it’s a fun way to stay motivated and learn alongside fellow enthusiasts.
As the season progresses, keep an eye out for my upcoming guide on vertical gardening. It’s a game-changer for maximizing space and boosting your harvest. Remember, the first time you bite into a homegrown cucumber, you’ll know it was all worth it.
Finally, label your plants with planting dates to track their growth. This simple tip can save you time and help you plan better for next summer. Happy gardening—your garden is waiting to thrive!
FAQ: starting cucumber seeds
Why should I start cucumber seeds indoors?
Starting seeds indoors gives your plants a head start, especially in cooler climates. It allows you to control the environment, ensuring better germination and healthier seedlings before transplanting them outside.
What supplies do I need to start cucumber seeds indoors?
You’ll need quality seeds, well-draining soil, pots or peat pots, and a warm, sunny spot or grow lights. Compost can also help enrich the soil for stronger roots and growth.
How deep should I plant cucumber seeds?
Plant seeds about an inch deep in the soil. This depth provides the right balance of moisture and warmth for successful germination.
How long does it take for cucumber seeds to germinate?
Under optimal conditions—warm soil and consistent moisture—seeds typically germinate within 5 to 10 days. Keep the soil temperature around 70°F for best results.
When should I transplant seedlings outdoors?
Wait until all risk of frost has passed and the soil has warmed. Harden off your seedlings by gradually exposing them to outdoor conditions over a week before planting them in your garden beds.
How do I care for cucumber seedlings indoors?
Ensure they get plenty of light—at least 6 hours a day—and keep the soil moist but not waterlogged. If natural light is limited, use grow lights to support healthy growth.
Can I use plastic pots for starting cucumber seeds indoors?
Yes, plastic pots work well as long as they have drainage holes. Alternatively, peat pots are a great eco-friendly option since they can be planted directly into the ground, reducing root disturbance.
How do I prevent pests from damaging my cucumber plants?
Keep an eye out for common pests like aphids and cucumber beetles. Use organic solutions like neem oil or introduce beneficial insects like ladybugs to keep pest populations in check.

AUTHOR: MARIA JOSE VENTRAMELI
Specialist in Home Design, Architecture, and Trends
With years of experience writing for top home and lifestyle blogs, she now contributes to 17Vibes, offering practical, research-backed insights on renovations, smart technology, sustainable building, and modern living trends. Join our Facebook community here